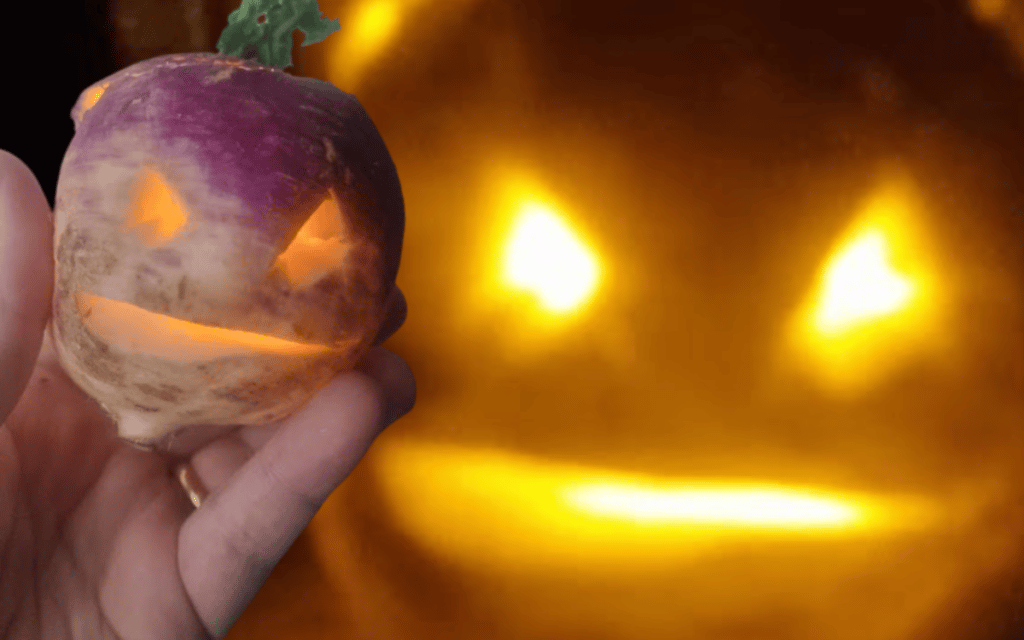
Wanna make your Jack o’Lantern like the ancients? Go Old School Halloween by carving a traditional turnip Jack o’Lantern with these easy-to-follow steps!

Carving Jack o’Lanterns dates back hundreds of years to the ancient Celtic festival of Samhain, which was celebrated on the night of October 31. During this spooky festival, people would light bonfires and place carved vegetables, such as turnips and beets, outside their houses to ward off evil spirits and protect themselves from ghosts.
The use of turnips as Jack o’Lanterns started in Ireland and Scotland, where root vegetables were easy to find and carve. In fact, the name “Jack o’Lantern” comes from an Irish folktale about a man named Stingy Jack, who tricked the devil and was doomed to wander the earth with only a carved-out turnip to light his way.
When Irish and Scottish immigrants went to the United States, they brought the tradition of carving Jack o’Lanterns with them, but they found that pumpkins were more readily available and even easier to carve than turnips. So, over time, pumpkins replaced turnips as the preferred vegetable for making Jack o’Lanterns in the United States. And with all things like this, the UK and Ireland followed suit.
So if you want to go Old School Halloween and enjoy it like your Irish and Scottish ancestors, here are the steps to carve your own turnip Jack o’Lantern!
How to carve a turnip Jack o’Lantern

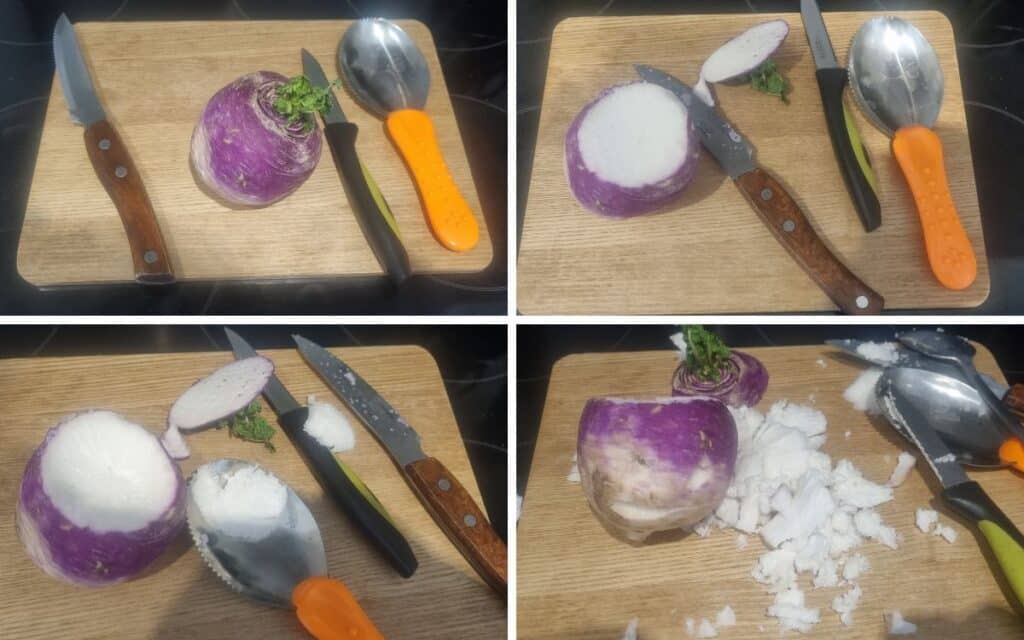
- Choose a large, round turnip. The turnip should be big enough to carve a face into it, but not too big that it becomes difficult to handle.
- Cut off the top of the turnip. Use a sharp knife to cut off the top of the turnip. This will be the lid of your Jack o’Lantern.
- Scoop out the insides. Use a spoon or scoop to remove the insides of the turnip. Be sure to scrape the inside of the turnip as clean as possible.
- Carve the face. Use a sharp knife to carve a face into the turnip. Be careful not to cut too deeply or you may break the turnip. Remember that turnips are harder to carve than pumpkins, so be patient and take your time.
- Add a light source. You can place a tea light candle or other small light source inside the turnip to illuminate it from within. Be sure to place the turnip on a sturdy surface and keep it away from anything that could catch fire. (I used a little battery-powered candle so I didn’t really have to worry about this.)

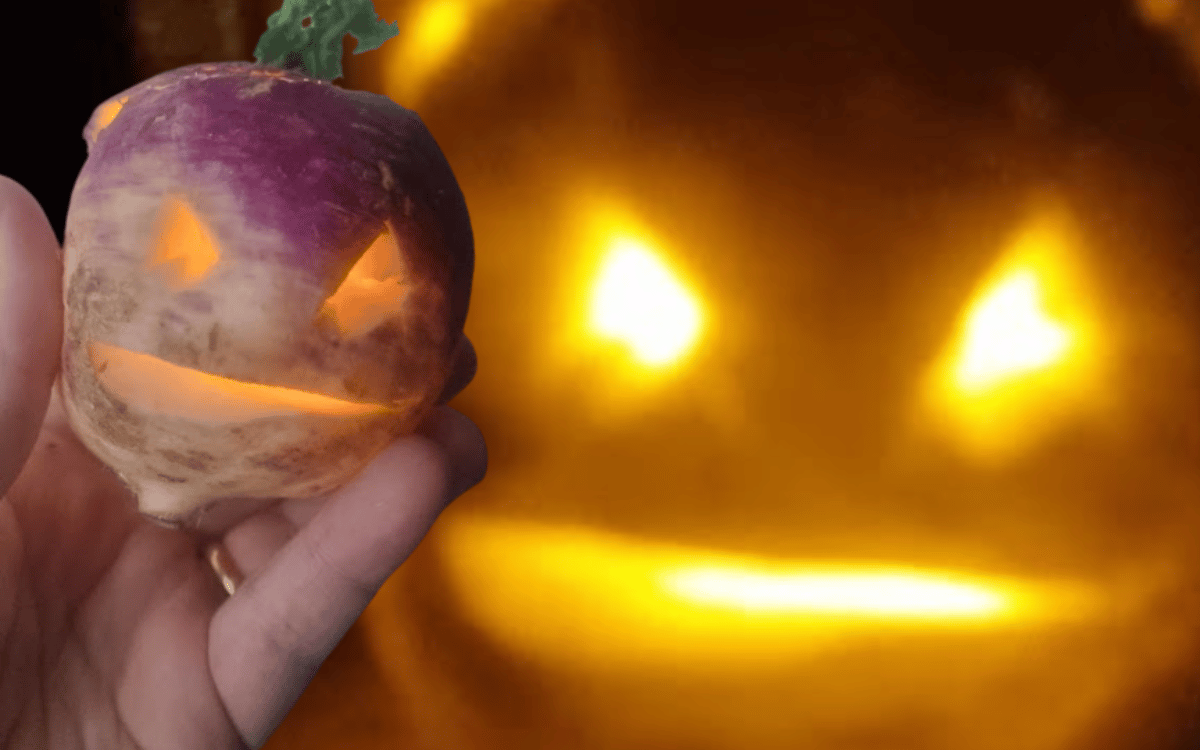
With these steps, you should have an authentic Jack o’Lantern made from a turnip. It may take a bit more time and effort than making one from a pumpkin, but the end result can be just as rewarding and equally impressive!
Tell us how you go with your turnip Jack o’Lantern in the comments section below!


How do you keep the tea light from setting the turnip on fire??
Thanks for asking. The turnip is still moist and the light is not touching the actual flesh of the turnip, so while it might get a little warm, it’s not getting hot. If anything, I reckon the the little light’s battery would go out before that happened it would ignite. Hope that all makes sense, David.